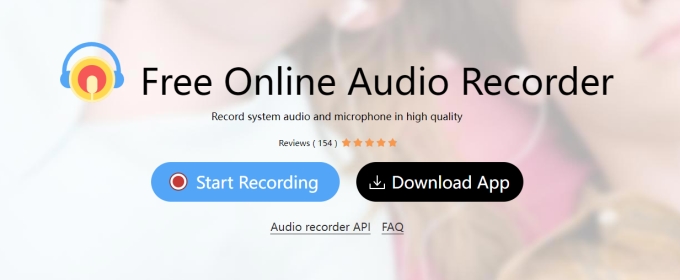
How to Use Apowersoft Free Online Audio Recorder
1. Preparation
Visit Apowersoft Free Online Audio Recorder and click “Start Recording”.

Before the recording, select microphone (input), system sound (output), or both. Then, click “Start Recording”.

2. Start Recording
There are two recording modes available: Entire Screen and Browser Tab.
1. To record the audio of the entire desktop activities, simply select “Entire Screen” → Select the desktop thumbnail → Click “Share system audio” → Click “Share”.

2. To record the audio of a certain tab in the browser, select “Browser Tab” (The Browser name will be replaced with the one you are currently using, such as Chrome Tab, or Microsoft Edge Tab.) → Select the tab → Select “Share tab audio” → Click ” Share”.

3. Pause/Stop Recording
Once the recording is started, you can use “Pause” to leave the recording for later and resume the recording when you’re back. Or click “Stop” to end the recording.
4. Save Recording
After stopping the recording, you can playback the soundtrack online directly. And if you are satisfied with it, simply click “Save” to download the audio file in Mp3 format.
And to further enjoy extra advanced features, such as audio-to-text conversion, audio editing, ID3 tag, and more, simply check out the desktop version below.
5. Convert Audio File
The recorded audio file will be saved in Mp3 format by default. However, you can also click “Convert” to explore more video format options.
