Microsoft Teams is a video call platform for meetings and seminars that help the members to make a live collaboration even when they are at home. On the one hand, it actually helps people to go through a hard time while staying at home due to the COVID-19 pandemic. On the other hand, it also enables you to make scheduled calls, take notes, share screens, or send instant messages, which makes the online meeting more easier and productive than ever. Today, we are going to recommend three useful tools for you to record Teams meeting so that you can save it for a later view. Meanwhile, if you want to start recording immediately, please refer to the tool below.

How To Record Microsoft Teams Meeting

Using ApowerRec
ApowerREC is a multi-purposed screen recording tool that helps you to download Microsoft Teams recording. Not only you can make real-time editing during the screen recording process, but also you can record the screen and webcam in the meantime. Besides, ApowerREC has several recording mode options, including task recording, zoom recording, and spotlight recording. Among them, task recording allows you to set the start and stop time for the recording so that you can run the screen recording even when you are unavailable. Now let’s see how to record a meeting in Teams with this smart recorder.
Start Recording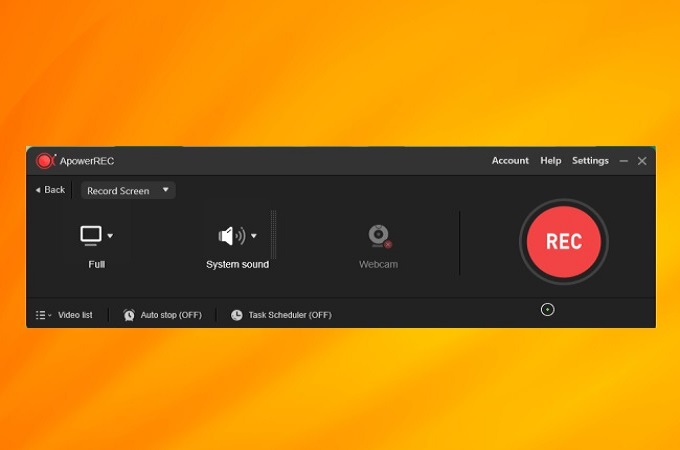
First, download and install ApowerREC on your computer, and then start a meeting with Microsoft Teams.
Once the program is installed successfully, you can choose to record the meeting in full screen or customized screen. Then, simply launch it and click the red REC button to start recording Teams meeting.
Add Annotation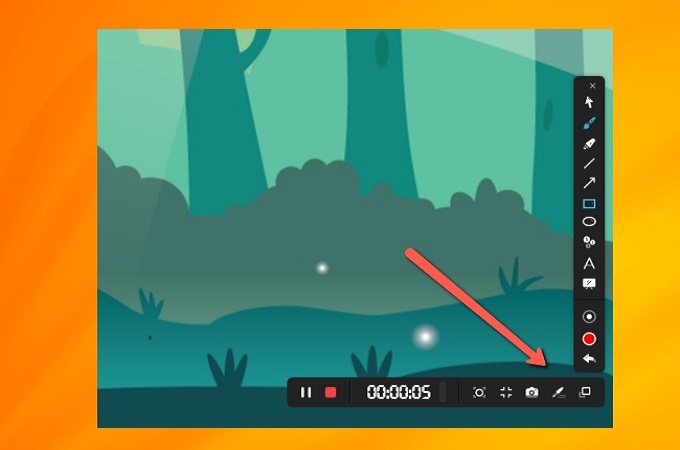
Click the pen icon on the floating recording toolbar and you will be able to add arrows, lines, serial numbers, circles, or texts on the recorded screen. This recorder also provides a whiteboard under the annotation panel which you can randomly mark on a white screen to take notes or add all the annotation elements.
Trim The Video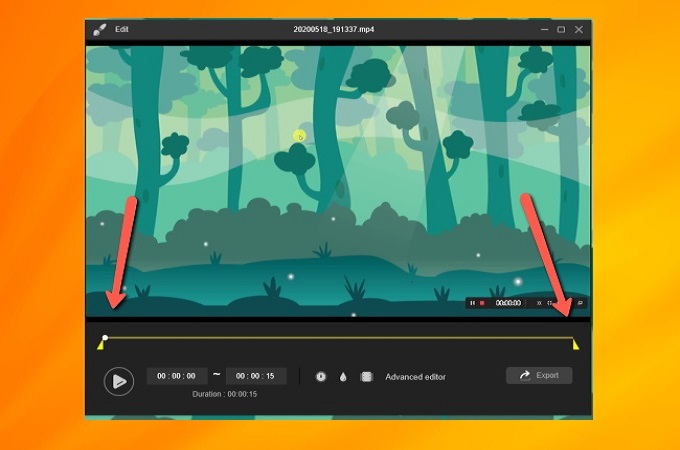
After finishing the recording, you can directly check the recordings under the video list panel. Just right-click the recorded file and you can select the edit option to enter into the editing panel. And further to trim the video, add watermark, add image or adjust the video playing speed, etc.
To Add Intro and Outro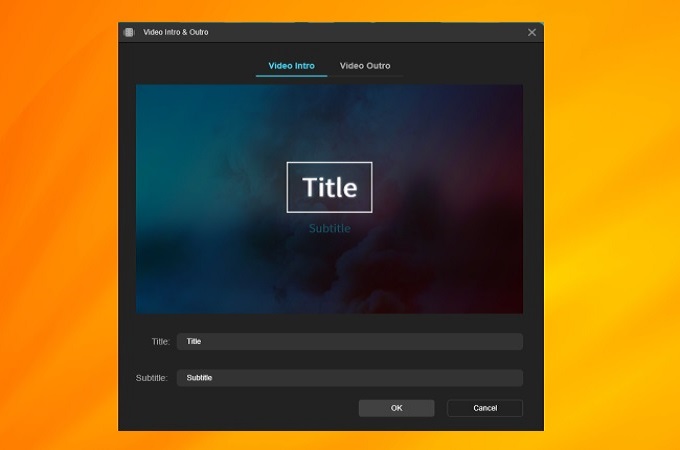
As you edit the video, you may also add intro and outro by just going to the icon at the lower left-hand side to input the details for your intro and outro.
Take Screenshots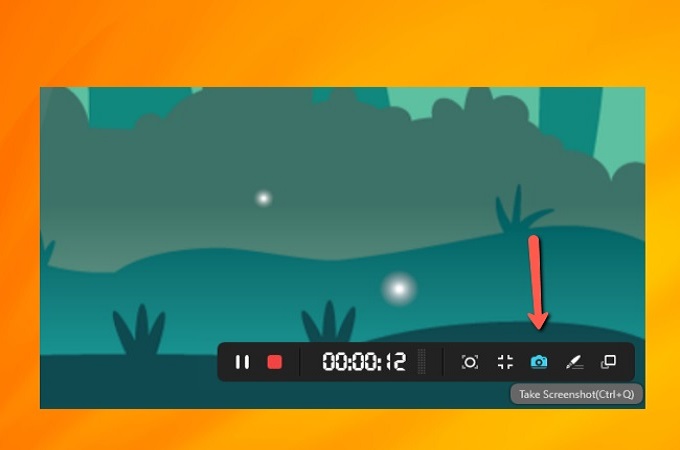
Just click the screenshot icon on the floating toolbar during the recording, and the screen will be captured & saved automatically on your PC while the Teams cloud meeting recording is ongoing.
Zoom Recording (for Windows only)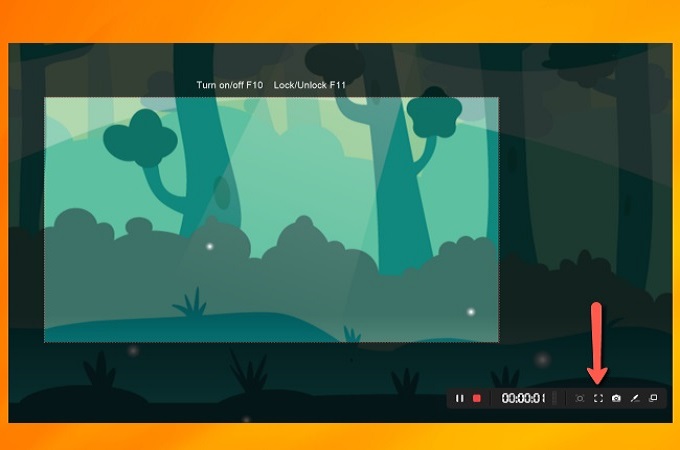
By using the zoom recording feature on the recording toolbar, you can zoom in a certain part of the recording screen to show more details.
Save/Share The Recorded Video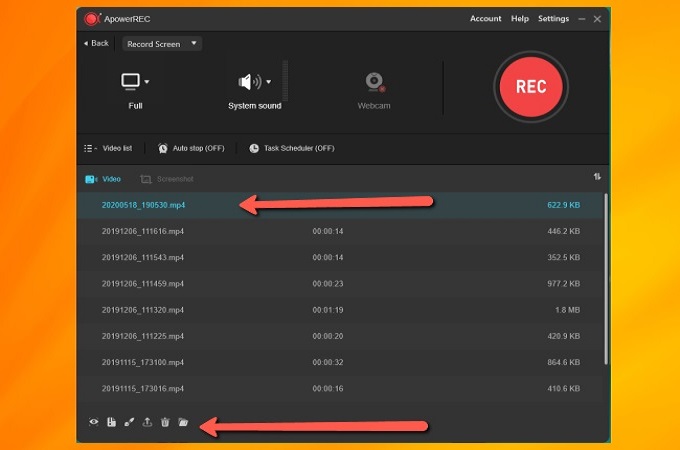
Once you have done downloading Microsoft Teams recording, the video will be automatically be saved to the default saving folder which you have selected under the settings. Moreover, if you want to share your videos, simply right-click the recording under the video list and choose the sharing option to upload the recording to different social media platforms.
FlashBack Express
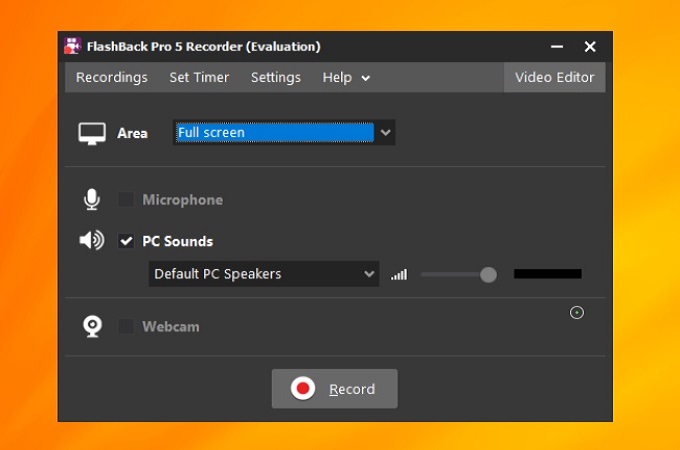
Next, we have the FlashBack Express. This is one of the top choices when it comes to recording desktop screens for it offers a lot of features with a friendly user interface which is easy to use and follow. Furthermore, you can record as long as you want because there are no limits unless you have set so.
ShareX
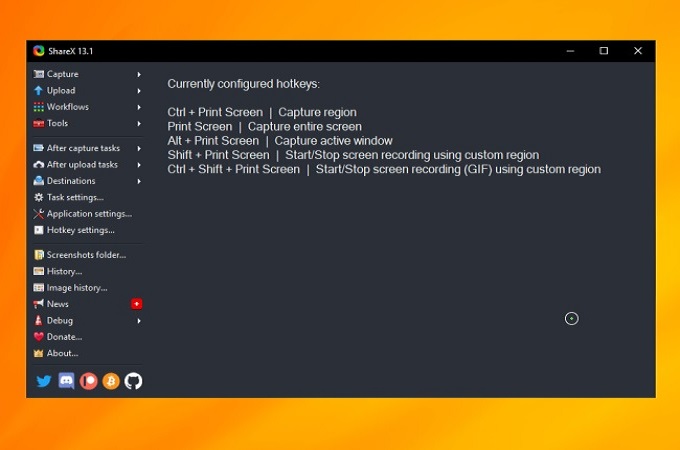
ShareX is an open-source app that allows you to capture and record screens even when in a meeting using the Microsoft Teams. Also, this free screen video recording lets you save, download, and export your recorded videos in different video outputs such as MP4, MOV, AVI, and many more. Furthermore, it also allows you to record and save your file into a GIF format instead od a video. Check this tool on its main website to know more.
Summary
The given tools above are the best ways on how to record a lesson on Microsoft Teams. These amazing tools offer lots of features that you may use for recording Teams meeting. Plus, not only these tools can be used for screen capturing meetings, but they also can be utilized for recording games, courses, or create video presentations, etc.


Leave a Comment