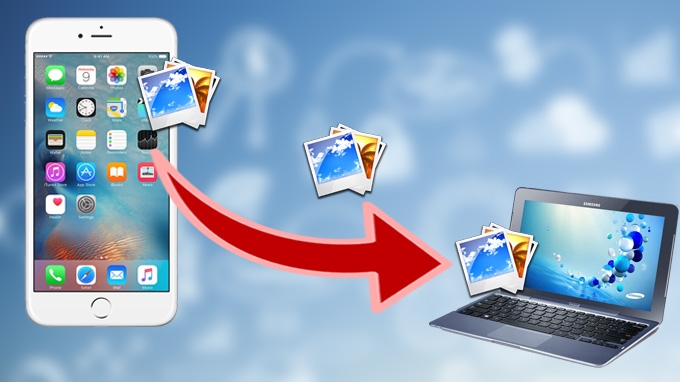
If you have an iPhone, you can take photos with it anytime you want to. So you have the chance to record the details of unforgettable scenes on your iPhone. However, the memory of iPhone is limited, then how to keep tons of photos without worrying the shortage of memory? A very good idea that may easily appear on your mind is to transfer photo from iPhone to PC.
It’s a very nice way to save your photos on computer for storage, editing or social sharing. But to avoid copyright infringement, Apple doesn’t allow any iOS devices user to transfer data from iDevices to PC with iTunes. Actually, there are some simple and free ways to transfer all photos from iPhone to PC. If you still can’t find the right solution, just keep on reading the tutorials introduced below.
Practical ways to transfer photos from iPhone to PC
Way 1: Pro way to transfer iPhone photos to computer
ApowerManager is a professional file transfer tool that helps you transfer photos from iPhone to your computer in an easy way. Before you start to use it, you’d better take a look at its features.
- Supports transferring audio, video, TV shows, SMS, contacts, eBooks, iTunes U and other media files from iPhone to computer.
- Helps you manage your photos, videos, and other documents. You can delete files on phone with it.
- Makes perfect M4R ringtone from DVD, video or audio and adjusts it in any length you like.
- Provides convenient features including discerning the properties of your devices, searching desired files, editing ID3 tags and so on.
As for how to use it, just refer to the below simple steps:
Step 1: Download ApowerManager on your computer and then run it. Connect your iPhone to PC. Click the Photos tab on the left pane and all the pictures will be displayed on its interface.
Step 2: Choose the photos that you want to transfer to PC, you can select all if you need.

Step 3: Click the “Export” button and select the output directory to transfer photos from iPhone to PC.
Then your iPhone photos will be transferred to PC immediately. You can go to the folder and check them.
Way 2: How to transfer photos from iPhone to PC with Windows Live Photo Gallery
No download and install, simply finish several steps to transfer picture from iPhone to windows 8, windows 7.
Step 1: Find USB cable of iPhone and use it to connect your iPhone to computer.
Step 2: Click the “Start” button on your computer and type the word “photo gallery” in the search box. Wait for a moment, and then you can see Windows Live Photo Gallery in the results.

Step 3: Open photo gallery and proceed to click “Home” tab and “Import photos”.
Step 4: Select and click your iPhone in “Import Photos and Videos” dialogue, then click “Import” button.
Step 5: Click “More Options” and choose the folder directory, folder name, and file name.
Step 6: Two import methods including “Review, organize and group items to import” and “Import all new items now” are available for you to choose. Select the method you like. Click “Import” at last.
Which way should you choose?
Incidentally, The professional ApowerManager we recommended above is the best. With it, you can transfer various contents from any model of iPhone to computer, iTunes, iPod, iPad with zero quality loss. Click download button below to transfer what you would like to now!
At last, if you find this post helpful, please share it with the people around you via your social network. In so doing, more and more people can benefit from these useful ways when they need to know how to transfer iPhone photos to computer.


Leave a Comment