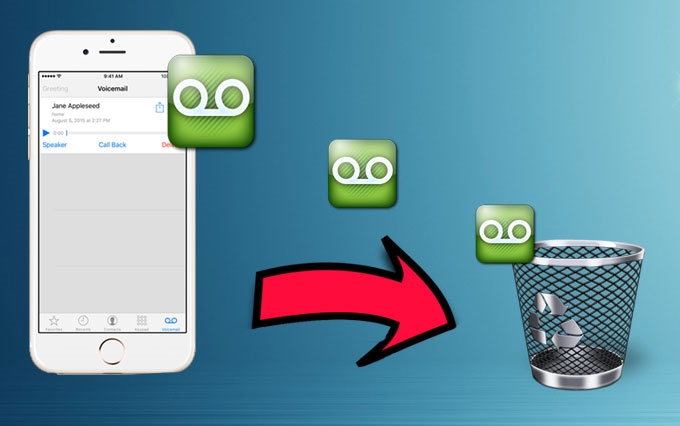
We often receive voicemails everyday through our iPhone. There are some points where we are not aware of these voicemails that pile up and eventually slows our iPhone processes. To bring back your iPhone’s usual speed, the best way that we can do is to get rid of these voicemails, but the question is “how to delete voicemail on iPhone“? For those who don’t know how, have a look at this solutions as I continue.
Deleting iPhone voicemail the best way
Solution1: Delete a voicemail message on iPhone directly
The first method that iPhone users can do is to remove voicemails one after another. By using this solution, every user can go through all of the voicemails and directly delete those that do not bring any significance. Anyone can easily do this process since it does not need any special skills. All you need to do is to:
- Unlock your iPhone screen, and go straight to the “Phone” app.
- Next is to hit the “Voicemail” tab which is located at the bottom right.
- After that a list of the voicemails will be displayed, all you need to do now is to choose a certain voicemail and swipe it to the left.
- Now a red “Delete” button will appear on the right side, simply tap this button to remove the voicemail directly.
- Repeat the process till all of your unwanted voicemails are erased.

Solution 2: Delete multiple voicemails from iPhone with Multitouch
The next solution to delete voicemails from iPhone is with the use of Multitouch app. This method will help you delete multiple voicemails entry simultaneously. There are times when we are so busy that we just want to erase everything without taking look at them one by one. That is why Multitouch brings such help in deletion. Here are the steps to do it:
- Unlock your iPhone device and go to “Phone” application.
- Tap the “Voicemail” tab at the bottom part.
- Now all of the received voicemails will be displayed.
- Click the “Edit” button at the top area.
- A red circle with minus sign (-) will be shown at the left side of each voicemail, tap it and a “Delete” button will next appear at the right side.
- This red circle will serve as the multiple touch points. Tap these points simultaneously with the “Delete” button until the voicemails are erased completely.

Solution 3: Permanently delete voicemail from iPhone with iPhone Data Cleaner
The above methods can be used to delete voicemails directly without any apps, but the deleted voicemails are not gone forever. In this situation, you may want a more sophisticated method to delete iPhone voicemail messages, then the iPhone Data Cleaner is what you are looking for.
This outstanding application can permanently remove voicemail from iPhone without any confusing steps. Furthermore, it can also be utilized in getting rid of unwanted pictures, notes, contacts, safari bookmarks, text messages and the likes. To permanently delete iPhone voicemails with this tool, here are the steps to follow:
- Install and open iPhone Data Cleaner on your computer.
- Connect your iPhone to PC via USB cable.
- Once connected, your iPhone device will be automatically detected, and it will lead you to the tool’s interface.
- To start with the deletion process, select “Erase deleted files”.
- Next is to choose the suitable data erasing level and click the “Start” button.
- Wait for few moments till the process is complete then click “Done”.

Deleting iPhone’s voicemail is a process that must be done regularly to avoid any alteration in the usual function of your iPhone. This is why it is important to delete voicemails on iPhone using the methods that we discussed above. On the other hand, deleting data on your iPhone in default way will leave a trace for other people. In this case, it is advisable to do a complete erasion which can be done properly with iPhone Data Cleaner, for it permanently deletes voicemail without leaving any data recoverable.


Leave a Comment