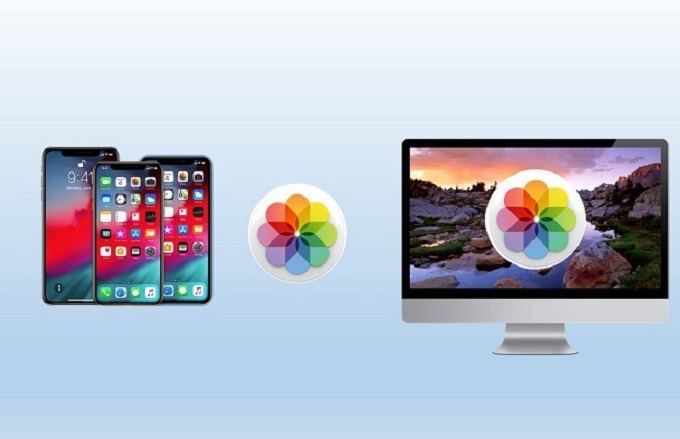
It is known to all that the iPhone can take high quality pictures with sharp details, great colors, amazing brightness and close-to-reality skin tones. And we often use our iPhones to take photos to record the details of life, which in turn make our phone memory get filled up pretty fast. If you want to release some iPhone memory, the best bet is to transfer your photos from your mobile to computer. There are many ways on how to transfer photos from camera roll to computer. Let’s take a quick look at the easiest ways below.
Methods to Transfer iPhone Camera Roll to PC
- Method 1: Through the use of USB cable
- Method 2: Use a more professional application
- Method 3: The default way
Mount iPhone as Removable Drive
As long as you connect your iPhone to PC via the USB cable, Windows PC can recognize iPhone as “Portable Device”. This method doesn’t require additional software on your computer or special cables to transfer all photos from iPhone’s camera roll. Simply follow the steps as below.
- Without running iTunes, connect your iPhone to PC using the supplied USB cable. When a pop-up window appears, click “View contents” or “Import pictures and videos”.
- Simply select the photos you want to move and copy them from your device to PC. If you select the “Import pictures” option, just drag and drop the pictures you want to transfer.
- Once done, safely disconnect your iPhone to PC.

Tips: If there is no automatic pop-up option from Windows, open “My computer” and find your iPhone under the digital camera or file system section. Right click it and select “open” or “Import pictures and videos”.
It’s super easy to transfer photos from camera roll to computer, but it has several disadvantages you need to pay attention to.
- Your iPhone should be unlocked before the transfer, or photos won’t be visible on your PC.
- You need to use a compatible, running and high quality USB cable to avoid data transferring errors.
- It may take some time to complete the transferring of photos especially for large files.
Use ApowerManager
If you want a more flexible method on how to transfer iPhone camera roll to computer, you can use the software ApowerManager. This easy mobile device manager supports all versions of iPhone, iPad and iPod Touch.
Follow the below steps to transfer photos to PC:
- Download the program and install it on your computer.
- Connect your iPhone to PC via USB cable. When a dialog box appears on your iPhone, tap the “Trust” button.
- On the main interface of the program, click the “Manage” icon on the top, then click “Photos” tab from the left. Select the pictures you want to transfer and click the “Export” button to save them to your PC.

With the program, you can transfer iPhone camera roll to computer with such great ease. Either with the use of USB cable or go wireless with WiFi, both transferring techniques are proven to be fast as well as efficient. You can also easily transfer videos, music, wallpapers, bookmarks, documents, applications and many more. Moreover, this tool allows you to do mobile backup, restoration and all other efficient features you would truly enjoy.
The iTunes Way
You can also transfer iPhone camera roll to PC with the help of iTunes. Remember that you need to have the latest version of iTunes up and running on your PC. An existing iTunes account is also needed.
To move photos from your phone to PC, simply:
- Make sure that your iPhone photos are neatly organized in folders. Connect your iPhone to PC using USB cable and open iTunes.
- Click the “Photos” tab on top and check the “Sync photos from” option. Select the “Selected folders” option and choose the photo folders you want to transfer by marking each checkbox.
- Click “Sync” and wait until transferring process completes.

There are many ways on how to transfer camera roll to PC. You can go traditional with the plug and play method or go modern with wireless photo transfer. By comparison, ApowerManager will be your preferable choice due to its easy operation and versatile functions.


Leave a Comment