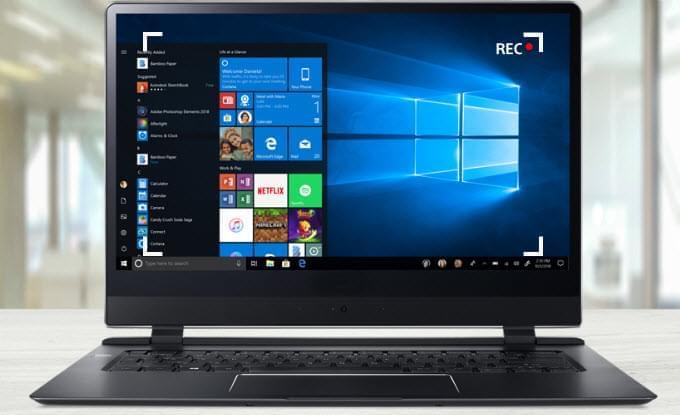
To record laptop screen is an activity that is often done by many individuals basically to save what is shown on the laptop screen. It is done to keep a personal copy of the monitor’s content or to use it in a video presentation. There are various ways on how to do it and tools that can be used. It’s up to the user on which one they prefer.
The Finest Way to Record Laptop
There are now different kinds of tools that can be utilized in recording video on laptop. We all know that Screencast-O-Mastic, Jing are popular recorders but they are not satisfying in the aspect of recording time. Concerning this, Apowersoft Free Online Screen Recorder edges a lot as long as you want to record laptop video without any limitation. Moreover, its built-in video editor and feature of recording any part of the screen or web camera really shows how well rounded this online application can be.
On the other hand, there are some other ways on how to record video on laptop. Each process of recording is further elaborated so that it would be easier to comprehend using the best tool available.
How to Capture Screen on Laptop?
1Apowersoft Free Online Screen Recorder
As mentioned above, the best choice shall be the online screen recorder of Apowersoft. To record laptop screen with this free application, the first step is to navigate to its website and launch the application. If this is your visit for the first time, you will be asked to download a simple launcher to activate the application. With the interface popping out, you can preset the settings like recording hotkeys and output formats. Audio source including system sound and microphone can be both recorded.

Next, you can customize the recording area as you want. Fixed region and full screen are both optional. Prepare the material that you want to record such as a movie. Once all done, you can start recording immediately by clicking the “REC” button. During recording, you are free to add various captions and marks to make your video more vivid.

And when you want to finish recording, just click on pause button first and choose to go on or quit. To continue, click Tick icon and you will go ahead. After previewing the video, you will be able to save and publish the recorded file. Seven video formats are supported and you can also publish a GIF as well. In doing this, you can get a satisfying video in high quality then.
2CamStudio
Another program that you can utilize to record laptop is CamStudio. It has an easy interface but also contains multiple options as well.It is able to capture the activity on your laptop and synchronously record your audio from computer and microphone. To learn to use it completely, it will take you several minutes. However, it is widely used for creating streaming flash videos for it publishes files in SWF formats.

Plus, You can also get a video in standard AVI format which is kept in high definition and does not have lags. All in all, CamStudio shall be fine in recording video on laptop but output formats are quite limited, which can be inconvenient for sharing and transmission.
3ApowerREC
If the previous method does not suit your preference, then here’s a professional screen recording application that fits well with your laptop. ApowerREC is a full-time recording software that provides users with screen recording, audio, and webcam recording, either simultaneously or individually. Good thing about this tool is that it’s stable enough without having any annoying adware that comes with it. When it comes to recording your laptop activities, all you need to do is to choose one from the recording modes, select the desired portion and then hit the “REC” button. While recording, you can add basic annotations like lines, arrows, texts, numbers, etc.

Furthermore, this tool also has other interesting functions that can help you manage your recoding such as the “Auto-stop recording” and “Split recording” functions. Both of these functions can help you to instantly end a recording according to how you set it. Plus, this screen recorder has a “Task Scheduler” that is useful in capturing your screen in your set time, even if you’re not around. It’s indeed very easy to use. To create a scheduled task with this program here’s what you need to do.
- Download and install this tool by hitting the button below.Download
- Next, open the screen recorder and you’ll see the “Task Scheduler” function located just below the record button. Now click it.
- Another window will appear, click “New task” to launch the setting panel.
![create new tasks]()
- From here, you can start keying in the settings that you desire such as duration, recording area, audio input, web camera, task name, and etcetera.
- When you’re done, hit the “Ok” tab and a countdown will be shown on the lower part of the interface that corresponds to the time that you just set.
- The recorded file will then be included on the tool’s recording list.


Leave a Comment